Getting Started with Spine : Creating Styles
Step 1: Choose a new styleI choose Blue Rain from Open Source Web Design. Download the archive. The ZIP file contains a number of files, all located under a directory called Blue_Rain. You'll find 1 HTML file in the main directory and 1 CSS file located in the styles directory. The images directory contains 2 PNG files.

Step 2: Upload the images
Make sure that you rename the image files before uploading them. Other designs may have images with the same name already in place. A clean way to keep style images separated is by prefixing them with the style name (e.g. header_bg.png becomes bluerain_header_bg.png).
Step 3: Creating the CSS
The design includes a file called screen.css in the styles directory. In the Content Administration, create a new content. Enter bluerain.css in the text field and click on the Create button. Open the bluerain.css file in a text editor (Wordpad will do) and select all the text. Copy/paste the text into the large textarea in the Content Administration. Remember how we renamed the images? We need to update the CSS file to reflect those changes. Look for the following lines and change them:
| From | To |
| background : #2b548c url('../images/header_bg.png') repeat-x bottom left; | background : #2b548c url('./images/bluerain_header_bg.png') repeat-x bottom left; |
You can leave the most of the Content attribute fields as-is but make sure to change the style to blank. Set the Content-type to text/css. You can access the Content-type field by clicking on the Advanced button at the top. Optionally you can define some comments in the Comments field, for instance
This CSS is part of the Blue Rain design, which was made freely available on Open Source Web Design (http://www.oswd.org) by Rowan Lewis (http://www.oswd.org/user/profile/id/11508).
Instead of creating the CSS file as a content, you can also just upload it to your website document root. The downside is that you wont be able to manage the document within Spine.
Step 4: Creating the style
Open the Style Administration and create a new style called bluerain. Enter the style name into the text field and click on the Create button. Open the index.html file from the ZIP archive into a text editor (Wordpad will do) and select all the text. Copy/paste the selected text into the large textarea marked Contents. Here comes the tricky part (read all of this before you actually do it). This is where you need to remove the body predefined in the template and replace it with a tag that Spine will transliterate to the Content. In the Style contents, look for <div id="content">. Remove everything between that div tag up until the </div><div id="panel"> after that. Instead of the text you removed, insert the following string
<?SPINE_Content?>
This means that you should end up with something like
<div id="content">
<div class="article">
<h2><?SPINE_Title?></h2>
<?SPINE_Content?>
</div>
</div>v
<div id="panel">
Now look for the HTML Title tag at the top <title>Blue Rain</title> Replace it with <title><?SPINE_Title?></title>. In the Title attribute field, add whatever you want to be included as part of the page title. The page title is composed from both the title attribute defined in the style as the title attribute defined in the content. Leave the style title attribute empty if you wish to only include the content attribute in the style.
Replace the CSS filename in the header with the filename of the CSS file ze created:
<link rel="stylesheet" title="Normal" type="text/css" media="screen" href="./styles/screen.css" />to
<link rel="stylesheet" title="Normal" type="text/css" media="screen" href="bluerain.css" />
Step 5: Creating a new Navbar
This section does not cover the details of Navigation Bar management but discusses just enough to integrate a new navigation bar in the style. In the Navbar Administration, select the main navbar from the Copy list, enter bluerain in the textfield and click on the Copy button. Open the newly copied Navbar by selecting bluerain from the Edit list and clicking the Edit button. In the Separator field at the top, enter </li><li> and click on the Save button.
Step 6: Adding the Navigation Bar to the Style
Open the Style Administration again and open the bluerain style you created earlier. Look for the menu div and change it:
<div id="menu">
<ul>
<li class="selected"><a href="./index.html">Home</a></li>
<li><a href="./index.html">Forums</a></li>
<li><a href="./index.html">Members</a></li>
<li><a href="./index.html">Search</a></li>
</ul>
</div>
to
<div id="menu">
<ul>
<li><?SPINE_Navbar("bluerain")?></li>
</ul>
</div>
Step 7: Wrapping it up
The final touches! Look for
<div id="header">
<h1>Blue Rain</h1>
</div>
and change it to something like
<div id="header">
<h1><?SPINE_Sitename?></h1>
</div>
Step 8: Test it
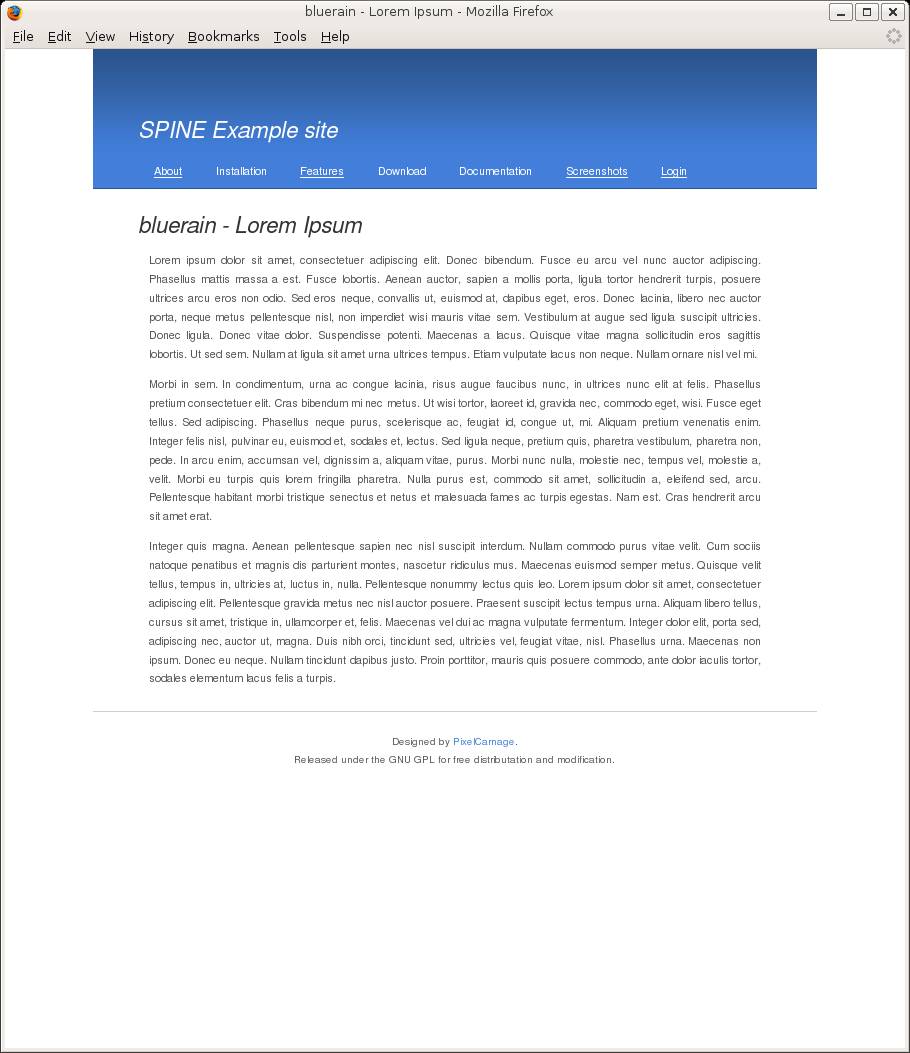
Open the Content Administration and load the lorem.html content. Select bluerain from the list and click the Save button. Open lorem.html in a second browser window.
